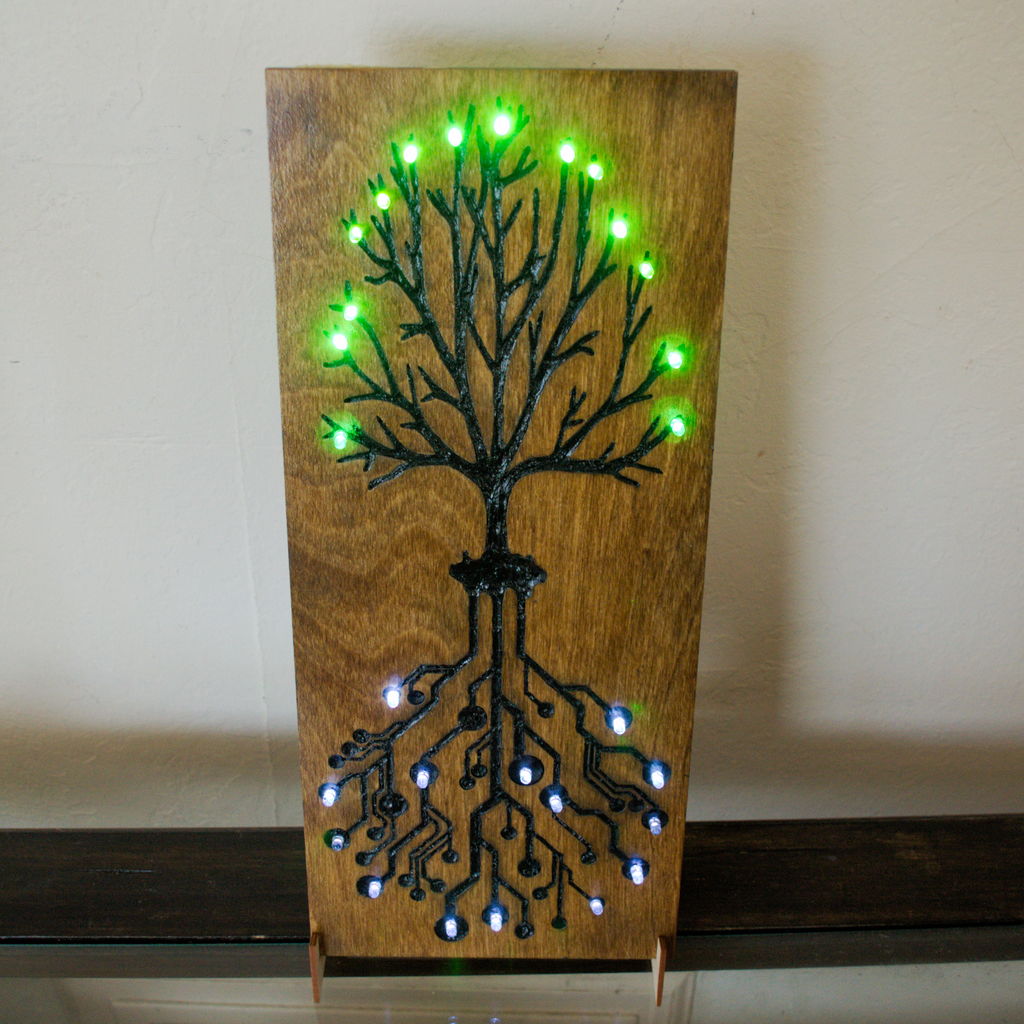
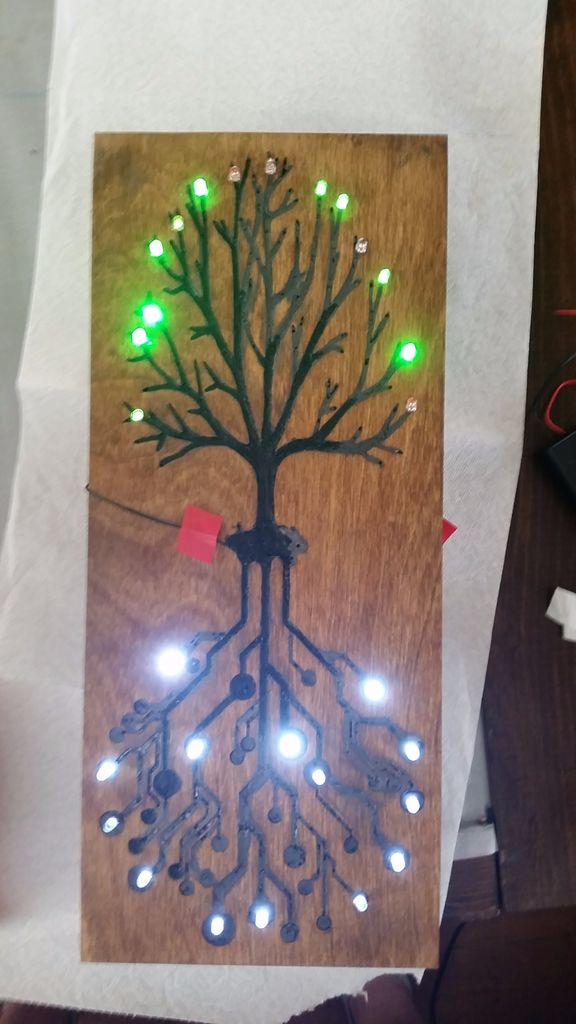
Conductive Paint Art
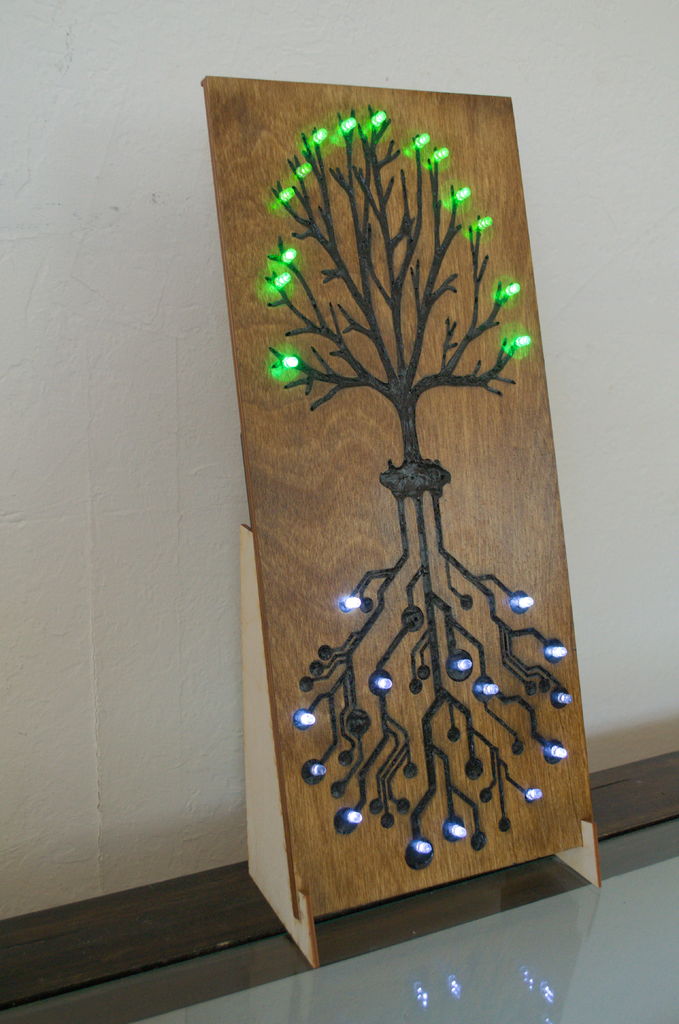
In this Instructable I detail the process that I took in designing a project that can light up LED's using conductive paint. I have written this in the hopes that you can completely remake the project I did (and hopefully make it better than me), but also use this as a stepping stone to creating other projects using conductive paint because information about how to work with it can be sparse. As a result, I have made this as in-depth as possible.
You can read into this Instructable in different ways depending on what you are looking for:
- If you are interested in just how I made the conductive paint, you will only need to read the first couple sections.
- If you are interested in completely replicating my project, you can probably skim a lot of the explanations I go into about why I did what I did. You only need the results I ended up choosing.
- If you want to make your own design, you will likely be interested in about all of the sections and explanations that I give. Pay special attention to the mistakes I made and recommendations I give, so you hopefully won't make those same mistakes.
For my birthday, a friend of mine gave me some commercial conductive paint. That gift spawned the idea that you see here. For this project I made my own conductive paint. Conductive paint is really interesting to work with because you don't need wire and can incorporate the paint into artwork like I did for my project. The paint has a resistance (unlike normal wire, which we consider to have ~negligible resistance over reasonably short distances), so that needs to be factored in when using LED's to make sure that there's the correct resistance and voltage drop.
Below I included a parts list; I have included some links to give examples of some parts that you can use.
Ingredients for conductive paint:
Other parts I used:
- LED's
- Syringes
- Battery holder
- 18x24x1/8 inch Birch plywood sheet (18x24" were the dimensions of the workspace of the laser cutter I was using)
- Electric Tape
- Masking tape
Optional
Tools
- Laser cutter
- Digital multi-meter
- Paint brush
- Drill
Step 1 - Making and Testing the Resistance of the Conductive Paint
Buying conductive paint is very expensive, especially for the amount that I was planning on using for this project, which is why I decided to make my own. The first step is making and testing the conductive paint. I based my work off of this very informative Instructable by 24Eng, and expanded off of his work a bit. In the Instructable, he found that the acrylic paint and graphite powder combination was the most conductive, which is what I decided to use for my project.
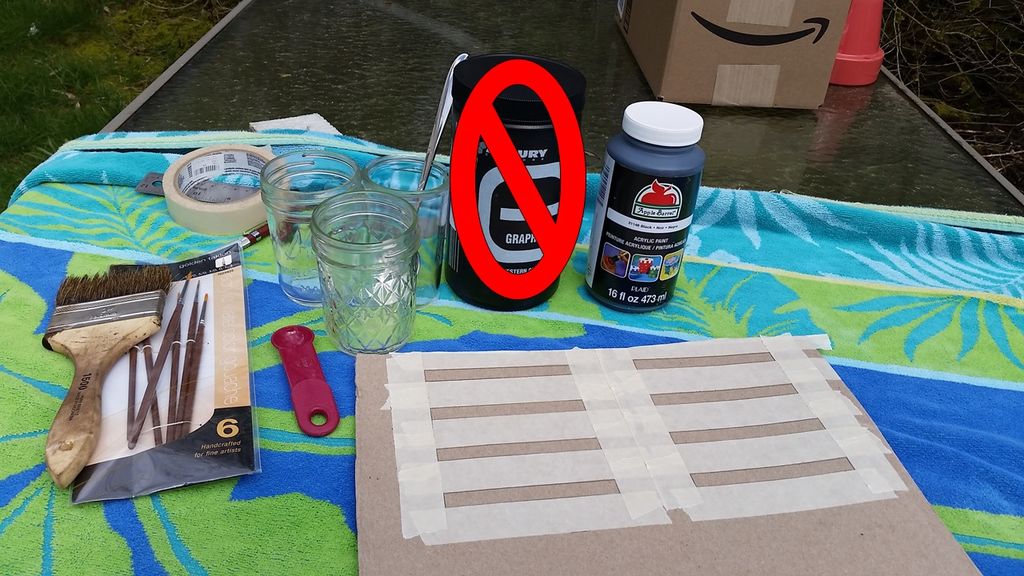
The two ingredients you need for this step are graphite powder and acrylic paint. Be careful when purchasing the graphite powder; it can be bought in different particle sizes, and you want to make sure you get very fine powder. I made this mistake myself the first time and purchased powder with flakes that were too large, so it wouldn't conduct a current when I mixed (I should have known, it was called 'large flake' powder...). I put a link in the parts list to the powder that I ended up using as an example.
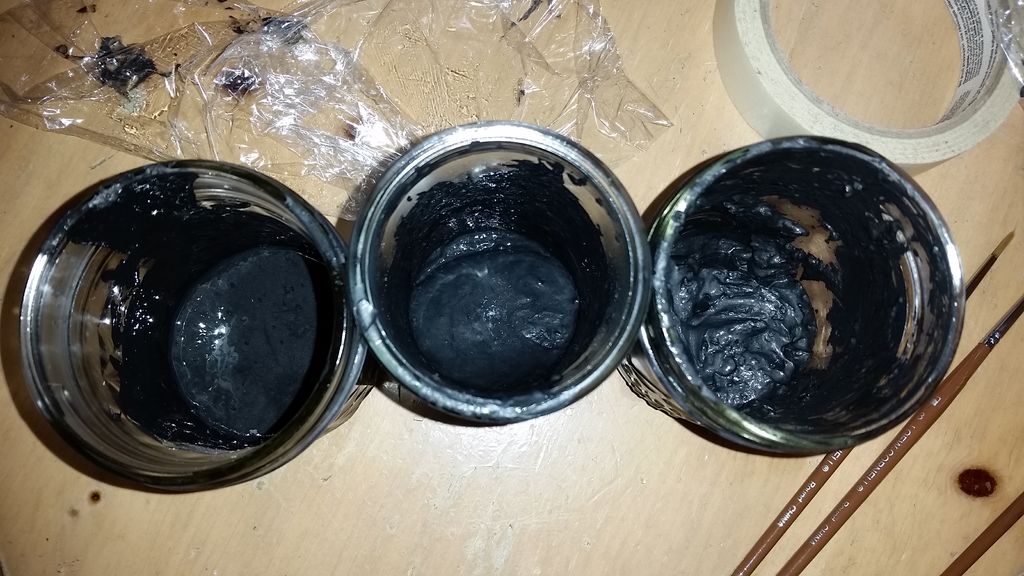
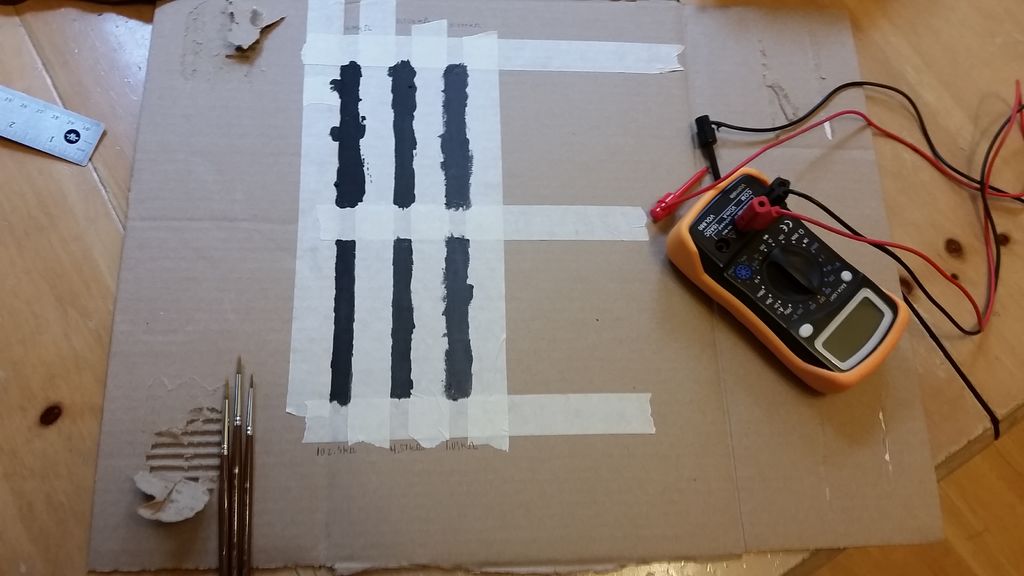
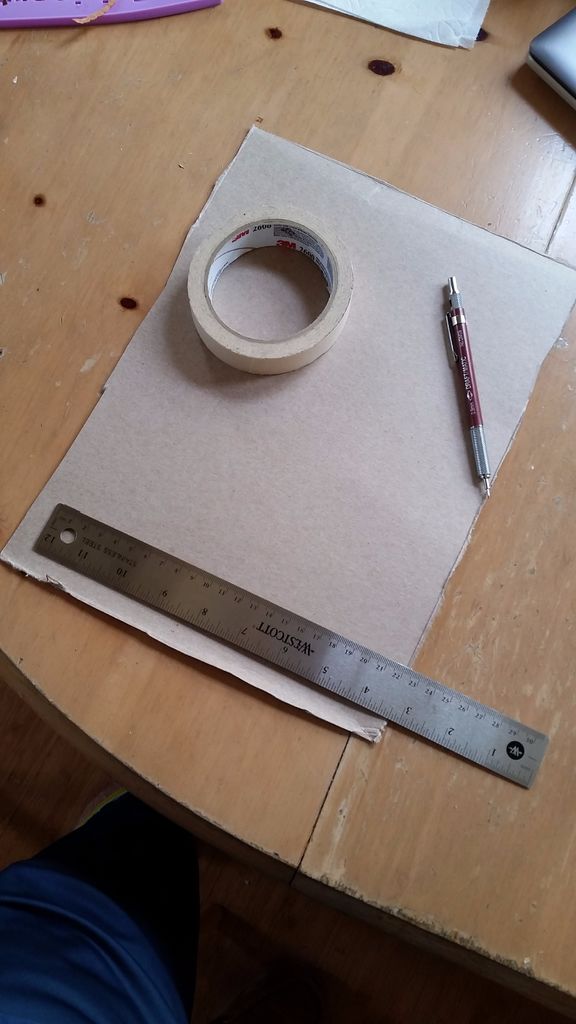
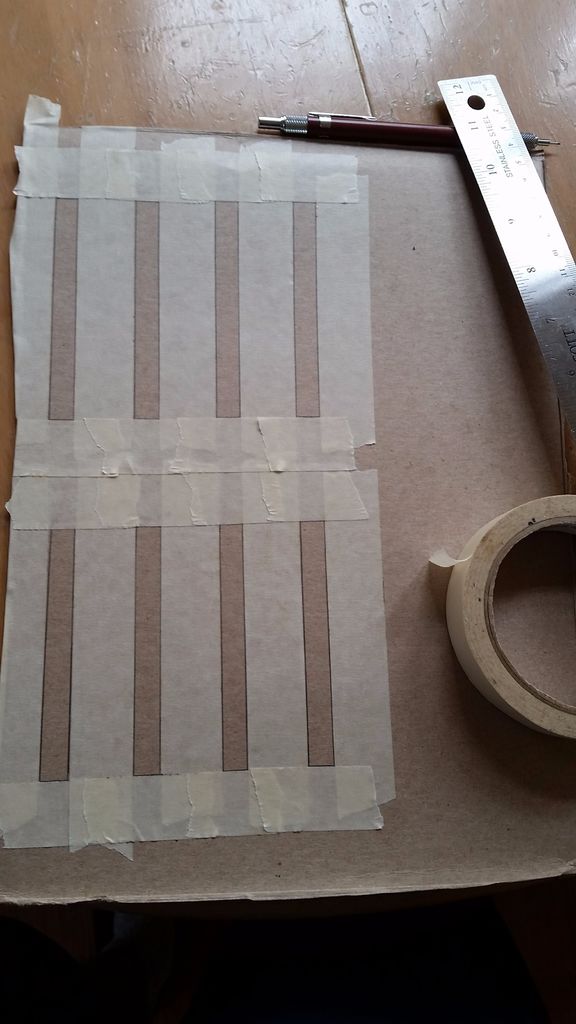
For the test I put masking tape on a cardboard surface to create 1x10 cm grids. Then I mixed the graphite powder and acrylic paint. Make sure to do this in a well ventilated area, and be careful to take appropriate precautions when working with the graphite powder; the powder is very fine and inhaling it can be bad for you. I tested the paint by making it with three different ratios; 1/2, 1/1, and 2/1 (parts graphite powder to acrylic paint). After I had stirred thoroughly to make sure the acrylic paint and graphite powder was well mixed, I used a small paint brush to apply the paint to the grids that I had made. I also tested just the acrylic paint (as a control), and the commercial paint that I had (BareConductive), to see how my DIY paint compared. For each trial I applied a "thin coating" and a "thick coating" to help gauge how thickness affected the resistance.
I let the paint dry for about a day before testing it; the resistance of the paint goes down as it dries. Afterwards, I kept the paint from drying by putting it in the fridge and covering it with plastic wrap. This worked pretty well.
Step 2: Results From the Resistance Test
The results were very promising. All of my trials were able to carry a current, and as expected the acrylic paint (control) did not. Both the 1/1 and 2/1 ratios that I tested were comparable to the commercial brand paint, with the 2/1 ratio doing slightly better than the commercial paint.
I calculated the resistance of the paint by square, which I will explain in the calculation section.
I ended up using the 2/1 ratio because it had the lowest resistance, and I still wasn't sure how close it was going to be for this to work. But you may not want to use the 2/1 ratio. Even though it had the lowest resistance, the higher ratios of graphite powder to acrylic paint looked increasingly gray (instead of black), and the viscosity also increased by a lot; the 2/1 ratio was more of a paste than a paint. In contrast, even thought the commercial paint had slightly higher resistance, it is black, and it also had a viscosity comparable to actual acrylic paint. So this is the compromise for making your own conductive paint using this method.
Step 3 - The Math...
The next step I did was try to calculate whether or not my idea was remotely possible. There was a lot of estimation involved. I'll detail the process that I used to determine if it should work so you can potentially apply it to a different project.
The major governing equation here is V = I*R, or more specifically V_LED = V_Battery - I_LED * R_Paint. You want the resistance from the paint to be low enough that there is enough resistance for the LED's to light up.
Conductive paint has a resistance measured by square, meaning a square of any size (be it 1x1mm or 1x1m) has the same resistance. It's kind of weird to think about, but if you want you can read into it more, Bare Conductive has a decent explanation with examples, and you can also read about sheet resistance on Wikipedia. This gets more complicated if you are applying more than a couple coatings, because now it has a noticeable thickness as well. Since I didn't test in thickness, I estimated using excel for the design size and total resistance that would result in my design working. These were pretty rough numbers, but it helped give me an idea as to what would work.
In my excel spreadsheet, I defined values for the LED's and battery pack I was using, then I estimated values for my design, to see if it would result in a voltage drop acceptable for the LED. I found the paint resistance using [Paint Resistance] * [Circuit Path Length] / [Average Path Width]. Then I found the LED voltage using the equation in bold a couple paragraphs up. It's not fancy, but I uploaded the spreadsheet if you want to use it too.
If you are worried about your design working, I would recommend doing a test using the actual thickness that you will be using (up to 1/8" for me), getting a value from that, and using that from your estimate. It will give you a much more accurate result.
Step 4 - Making Your Design
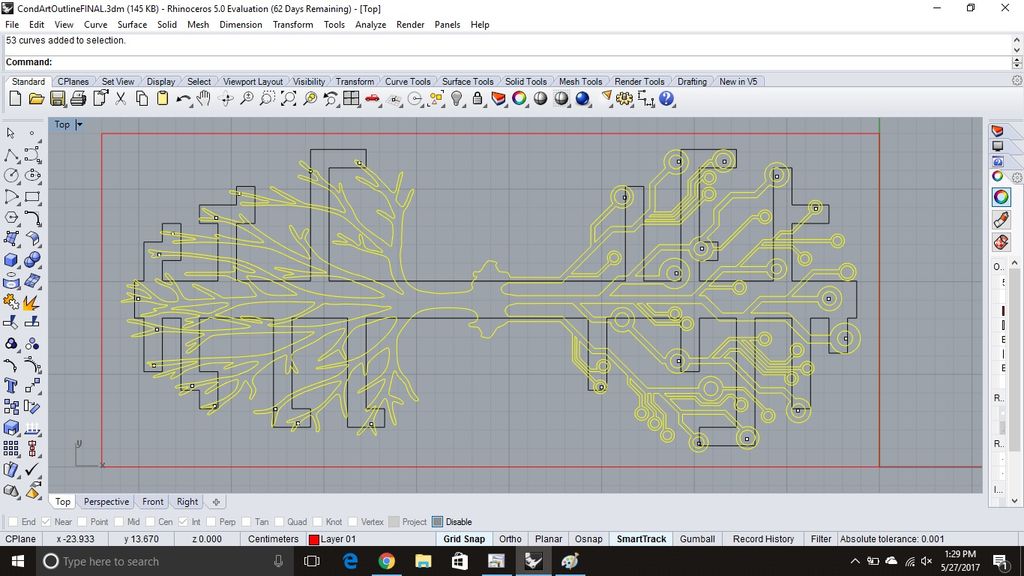
A couple important points when creating your design:
- The design needs to be a circuit. If there are any paths in the paint that can circumvent the LED's (a short circuit essentially), the LED's will not light up.
- The size that your design can be will be limited by the voltage drop that the LED's require (LED's with lower voltage drops means that they can be placed farther away), the width and thickness of the paint in your design (larger width and thickness result in less resistance and a larger possible design), and a battery with a larger voltage drop also means a larger design is possible.
- If you are using LED's that all have about the same voltage drop, you want the total circuit distance (and hence total resistance) for each LED to be as close to uniform as you can make it. Differing distances can result in differing brightness between LED's. From my own project, I found out that thankfully you can vary the distances a bit between LED's and still achieve a fairly uniform lighting result (see the bottom half of my project). This gets a little more complicated if you are using LED's with different voltage drops; LED's with larger voltage drops should need shorter paths. For my design I used green LED's (voltage drop of 3.2V) and white LED's (voltage drop of 3.0V), which was close enough that I didn't really need to worry about the difference. For example, using red LED's (voltage drop of 2.0V for the ones I had) would be more complicated if I were also using white LED's.
- If you can paint your design with your own hands, you don't necessarily need to use a laser cutter to make your design. But, if like me you can't paint at all, laser cutting out a design is a great way to make an artistic result. Using this method also has the advantage of being able to apply much thicker layers of the conductive paint (up to 1/8" for the 1/8" plywood that I used), which will allow larger designs.
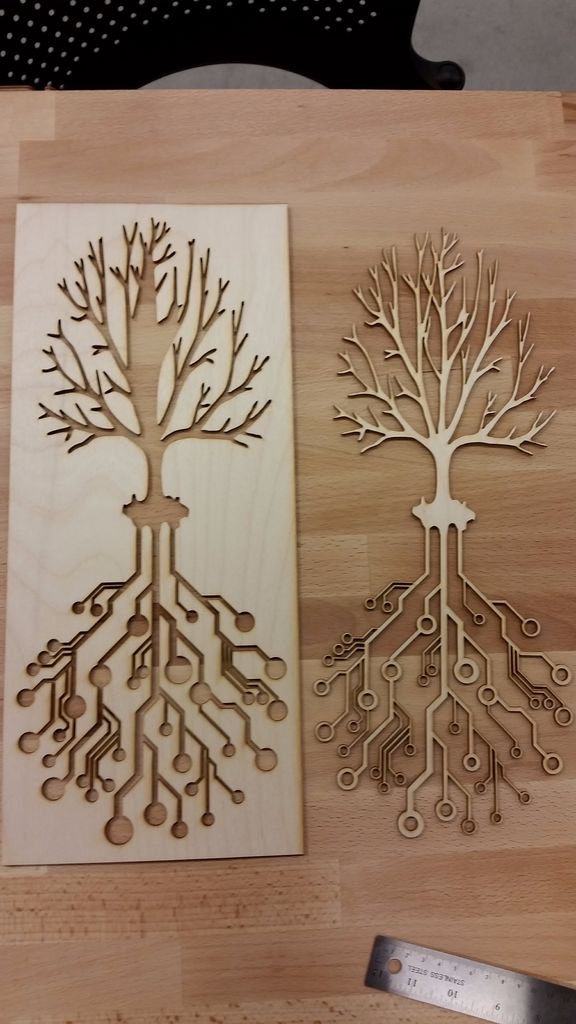
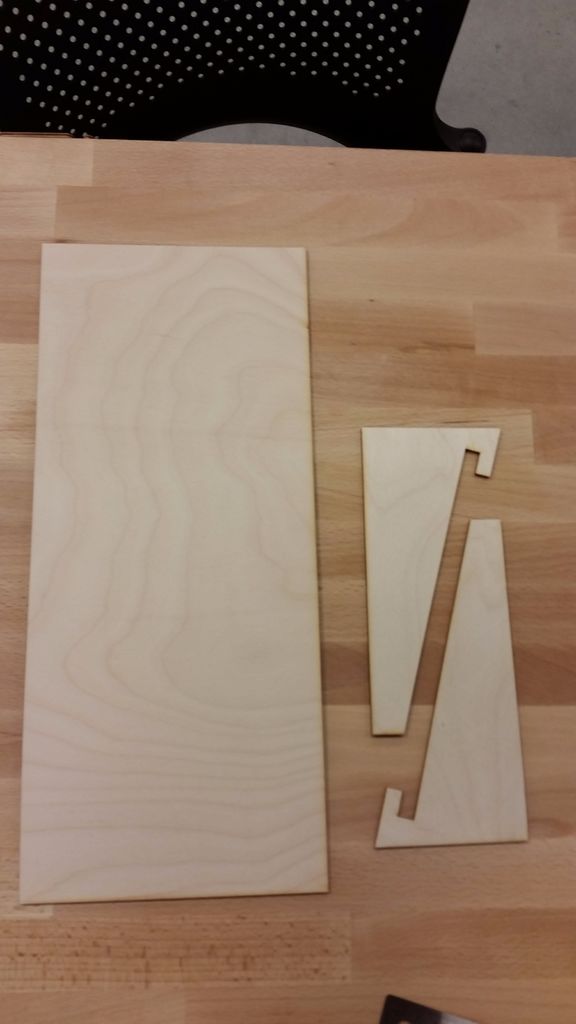
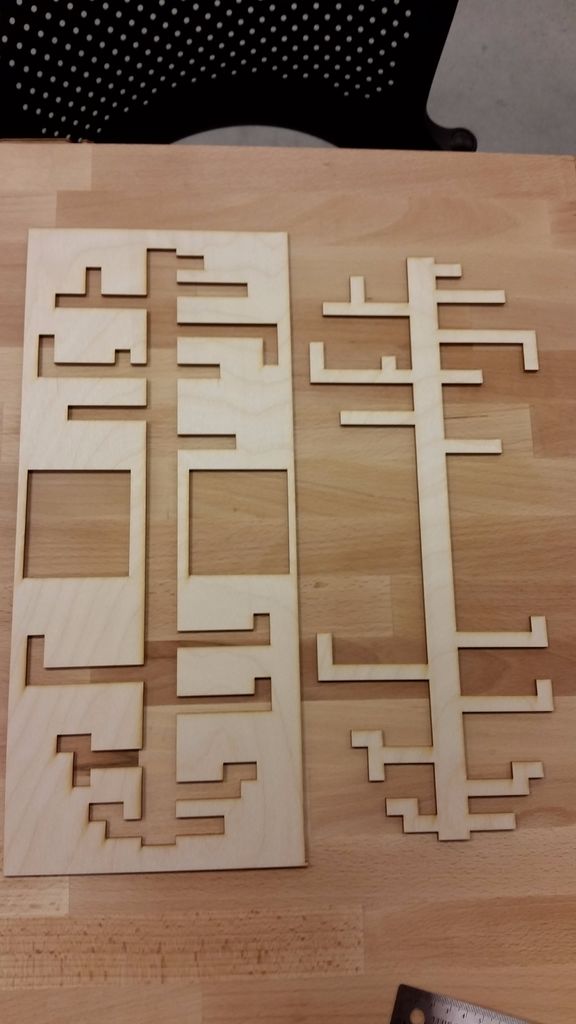
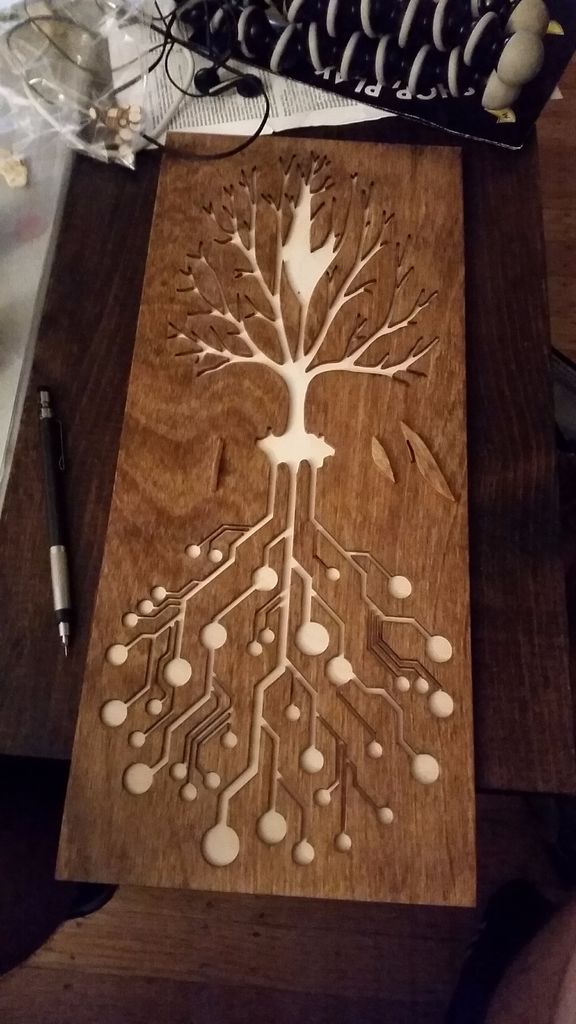
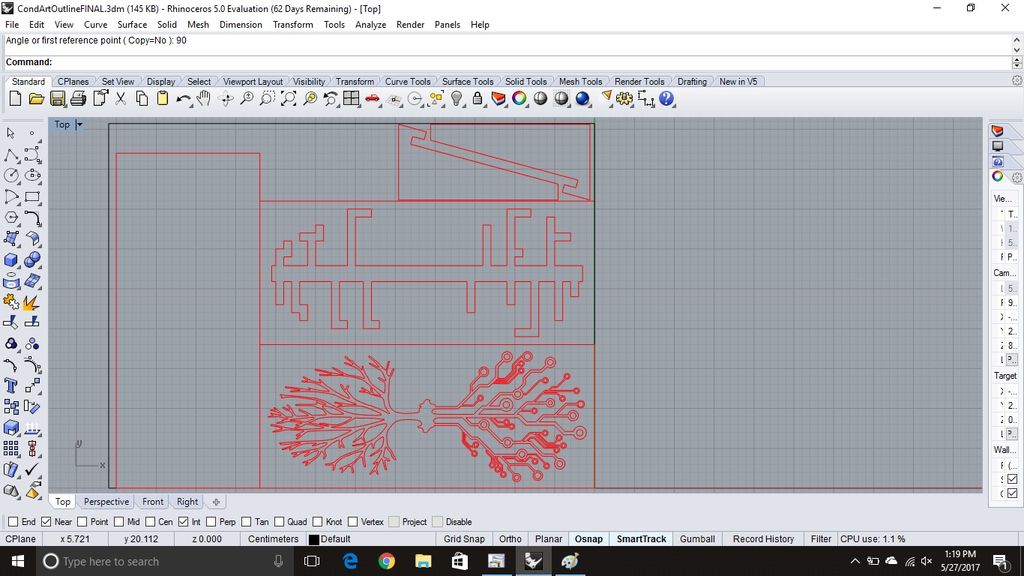
For my design, I used Rhino to create the pattern that I wanted to laser cut. I had an idea of what I wanted to make, so I found images that looked similar to what I wanted, traced the pattern in Rhino, then modified the design to get what I used for my project. I designed a front and back. The front was the artistic part that you see, and the back was the part that completed the circuit between the LED's and the battery. I decided where the LED's were going to go, then designed the back so that it overlapped with all of the LED locations in the front, and made the cuts in the back fairly large, so that the resistance in the back would be minimal. I added a "blank" board to go between the front and back, so that none of the conductive paint in the front or back part of the circuit were touching (which would in effect create a short circuit).
My final design was about 42.5 x 18 cm. I attached the final design I used, ready for the laser cutter if you want to use it. I attached 3 file types; the ".3dm" file type native to rhino, and also some more general file types, ".AI" and ".dxf". You should be able to import one of those file types. Just make sure that the imported dimensions match the correct size.
Step 5 - Laser Cutting
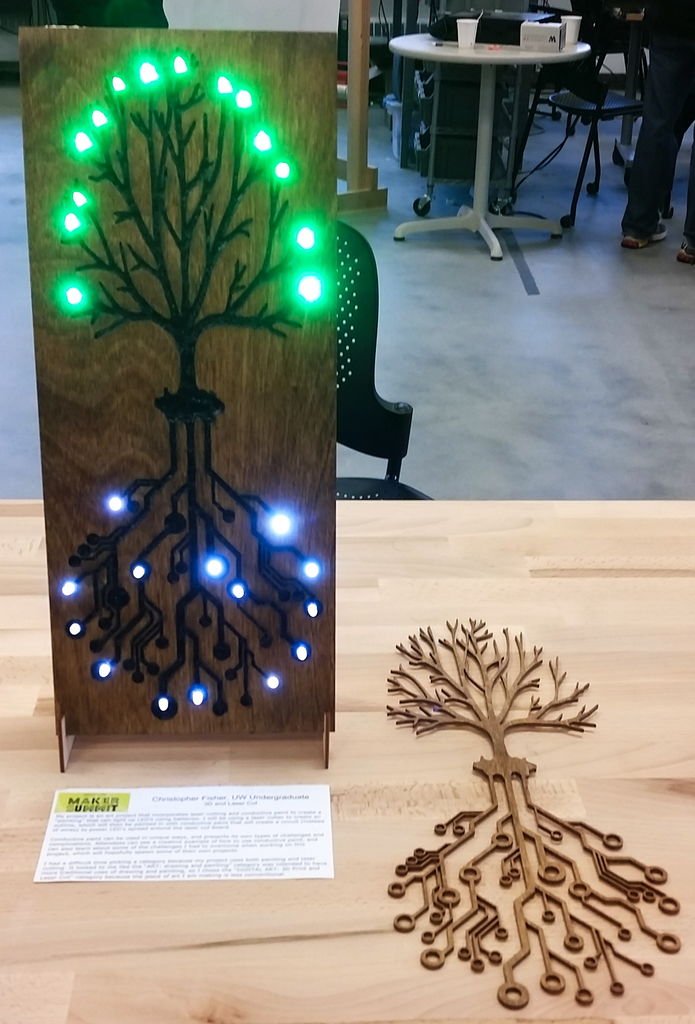
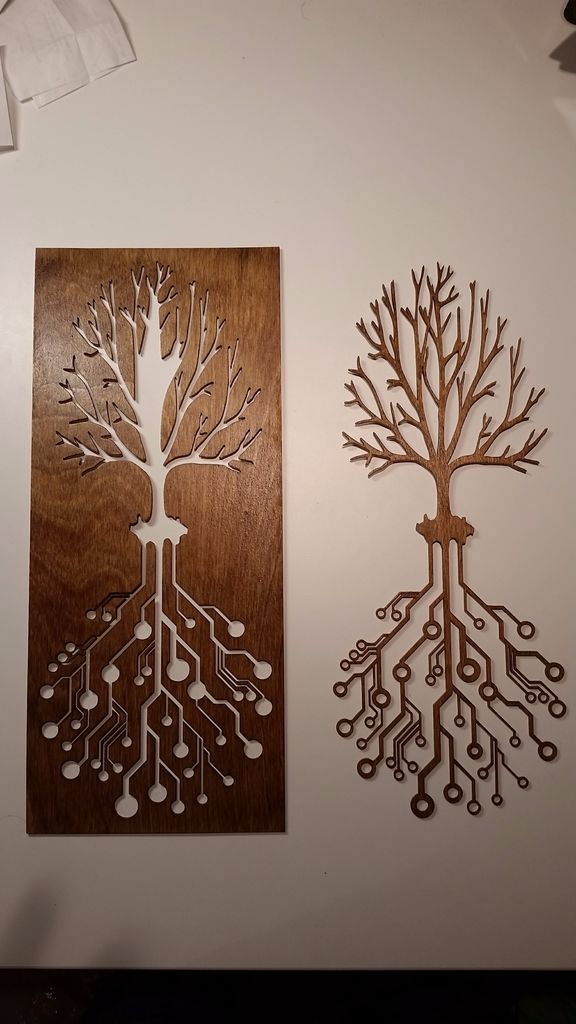
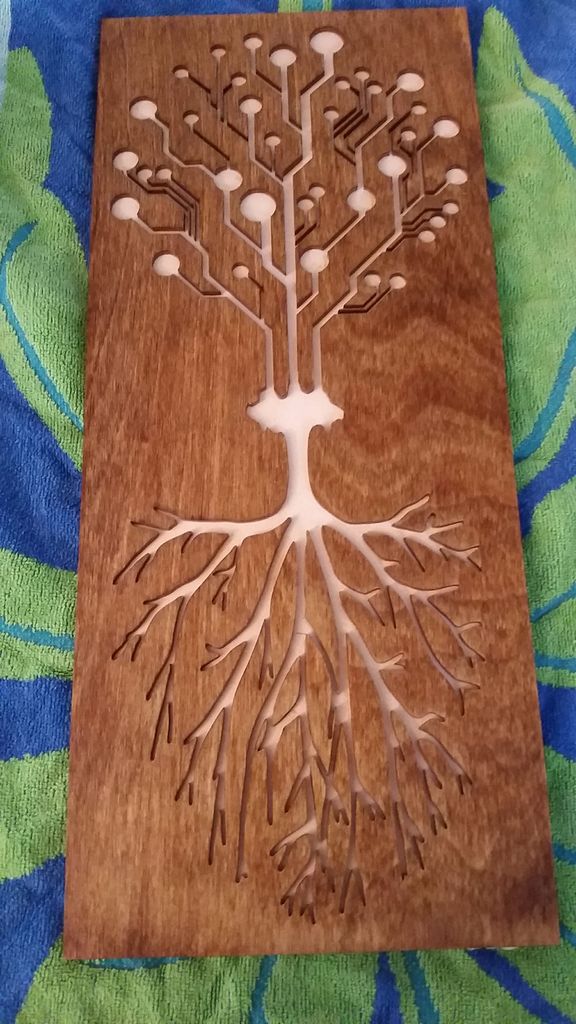
This step is simple enough, but difficult if you don't have easy access to a laser cutter. I have access through my school's makerspace, and a good bet for finding one would be to look for makerspaces near you. Be careful removing some of the pieces after cutting, as they are pretty fragile by themselves.And make sure to at least keep the small pieces that were cut out from the tree part (not pictured), as you will need to glue them on later. The small circular pieces from the circuit part are optional, I didn't end up using them. I would definitely recommend keeping the cutout of the tree-circuit pattern; even though it's not part of conductive art piece, it's a beautiful piece in its own right. I stained and finished the piece and hung it on a wall.
Step 6 - Order Suggestion for Assembling
The order that I used to assemble the conductive paint piece was what I thought was the best at the time (I was a little rushed too, to make a deadline for a competition), but I'm going to recommend a slightly different order than what I did. And if you think a different order will work better, feel free to try it. The hardest part I had during the following steps was getting the conductive paint into the pattern I laser cut without creating a mess on the surface.
And now I'll go through the process I recommend, and explain why.
Step 7 - Stain and Finish Wood
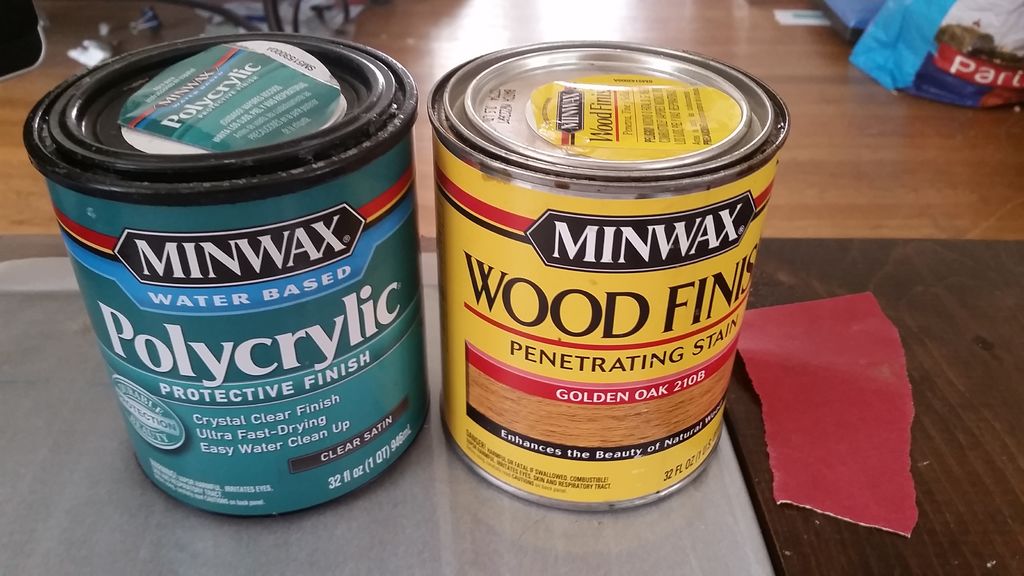
I recommend staining and finish the wood as the first step, and I recommend this because if you create any mess when putting the conductive paint in, it's easier to clean if there is a finish applied (the surface is smoother). I'll go into this more later, but you can use rubbing alcohol (I used isopropyl alcohol specifically) to clean up any paint messes off the surface reasonably well.
I started by sanding the surface with 200 grit sanding paper. Then I applied two coatings of wood stain (I used Minwax "Golden Oak 210B"), and then I would recommend 2-3 coatings of a protective finish (I used a polycrylic finish). I only stained and finished the front piece, but there's no reason you can't do the back.
Step 8 - Gluing the Boards Together
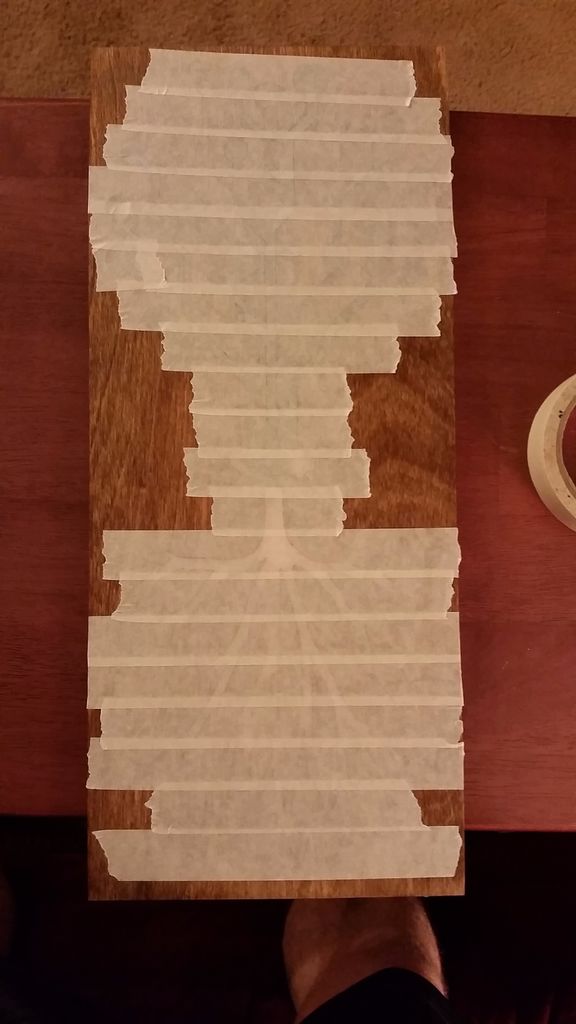
Depending on what method you think will work better for you, you can flip this step with the next one. The way I did this was I glued the boards together, then applied masking tape to the front, and then added the conductive paint with a syringe by piercing the masking tape and squeezing the paint in. But you can instead apply the masking tape first and syringe the paint in from the back (since the piece wouldn't be glued together yet). Then, after the paint has dried, glue all the pieces together. This should have a major advantage of not causing any bleeding in the front. I spent a fair amount of time cleaning off paint that head bled on the front. I would personally recommend applying the paint from the back, then gluing, but choose what you think will work best.
To start, when gluing, MAKE SURE you put on the back piece in the correct orientation. If you glue the back piece on incorrectly, when you go to drill the holes for the LED's, it won't be aligned properly.
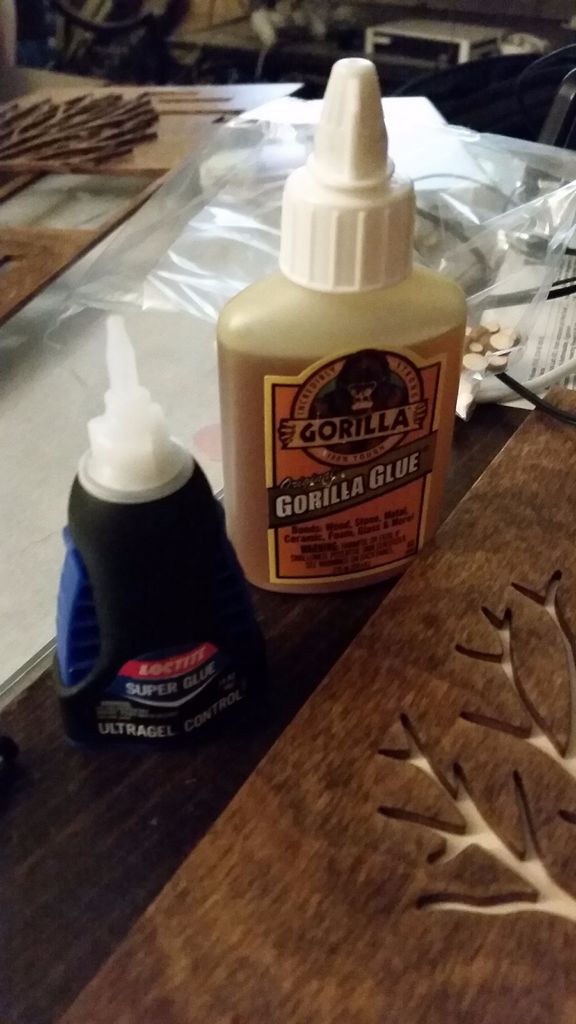
I used two types of glue; a quick drying super glue for initial placement, and a slower drying expanding glue for the long term support. Make sure to glue on the little cut-out pieces in tree now too. I put some books on top of it after I had applied the glue to apply pressure while it was drying.
Step 9 - Applying the Paint
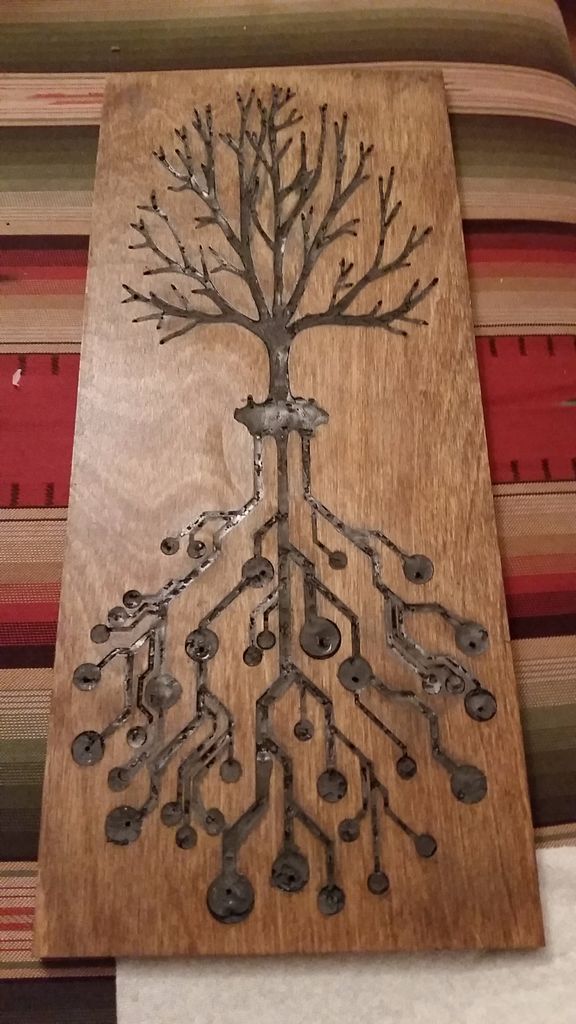
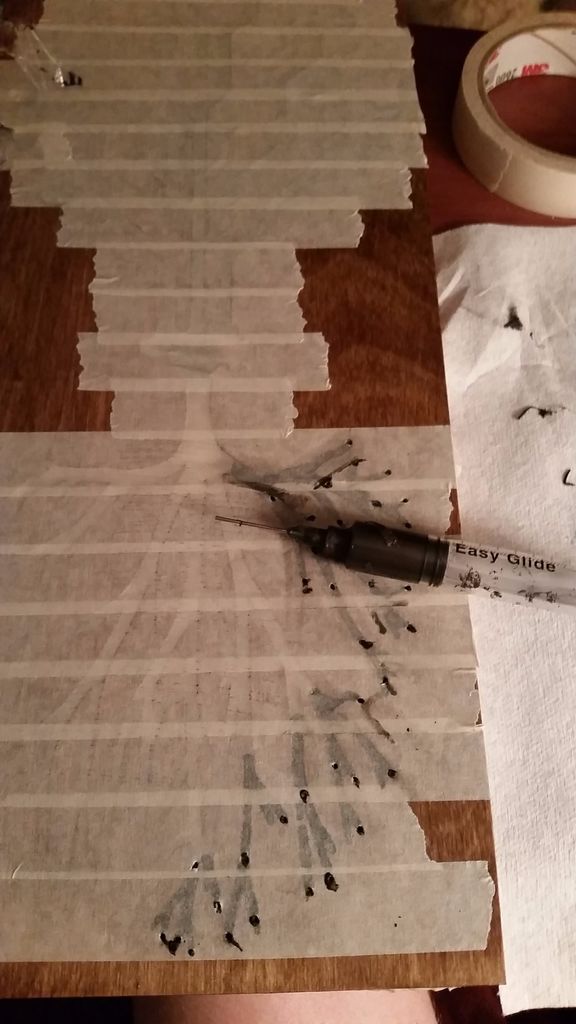
I tried multiple methods for applying the paint in without making a mess, and the best method I found was applying masking tape to the front (so the paint wouldn't bleed out when applied), and a syringe to squeeze the paint in. As I stated earlier, the paint I used has a consistency closer to a paste, so I found the most precise method for applying it was using a syringe. If you're following my steps, you'll need to pierce the scotch tape and squeeze the paint in. Be careful to not squeeze too much in, as the pressure will cause the masking tape to lift up which will let the paint bleed over onto the top.
If you flipped these steps, when putting on the scotch tape, make sure to add the small pieces for the tree on the masking tape ( and also be careful when gluing it on afterwards). Then use a syringe to squeeze the paint in from the back side.
Wait for the paint to dry before taking the tape off. This will probably take a couple days as it is covered. Be careful when taking the tape off so you don't pull any of the paint with you. If any of the paint bled over, like it did for me, you will need to carefully remove using a cloth (or paper towel or cotton swab) and rubbing alcohol. The alcohol will cause the polycrylic finish to fog, but you can fix it at the very end by adding one more coating of the polycrylic finish.
Step 10 - Drill Holes and Glue LED Lights In
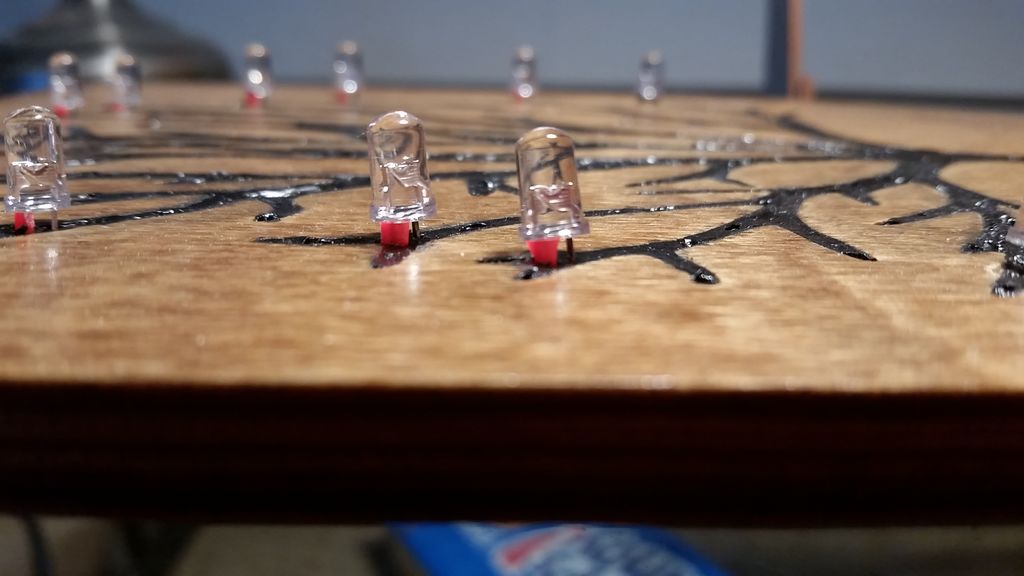
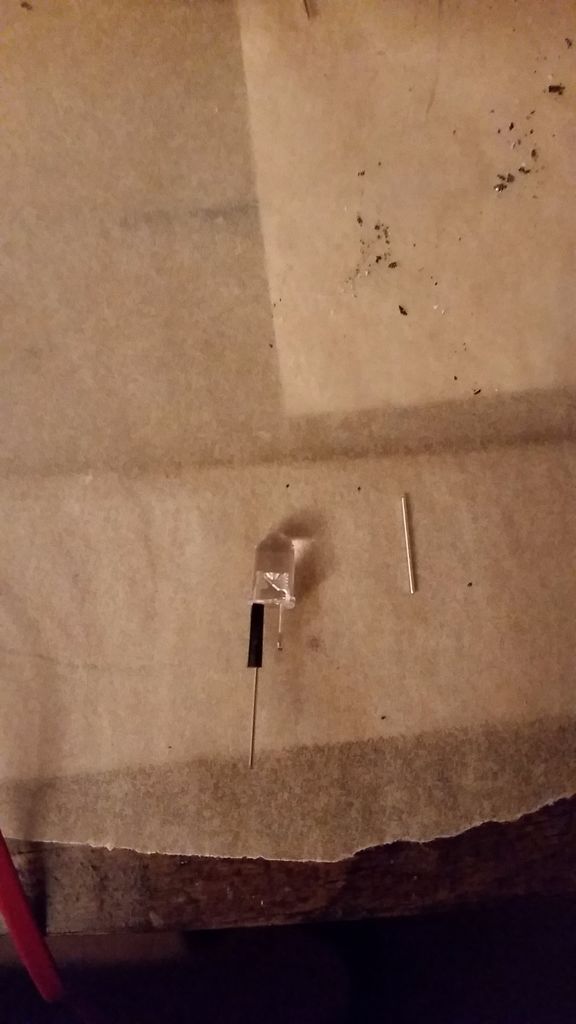
Now you want to drill holes for the LED's to go through. I didn't do this in the order that I'm recommending, so I don't have many pictures for this. I used the smallest drill bit size I had, 1/16 inch. After drilling through, trim back one of the LED's leads (make sure it's the same one for all LED's); this short end will poke into the paint in the front and the long end will go through through the hole you drilled. Make sure all the LED's are orientated the same way when you put them in. In order to stop the paint on the front side from touching the long lead, I put electric tape around the top of the lead (if the paint on the front end does touch the long lead, it will make a short circuit that won't power the LED). Once the LED is through, glue it in the hole from the back side; this will make sure that when you are applying the paint on the back, none of it gets through the hole and get in contact with the paint on the front side (which will also create a short circuit). When the glue is dried, you can also clip the long lead of the LED, so only a bit of the lead is sticking out (for the LED to have contact with the paint that you will apply to the back of the board).
Step 11 - Add Battery Pack(s) and Connection
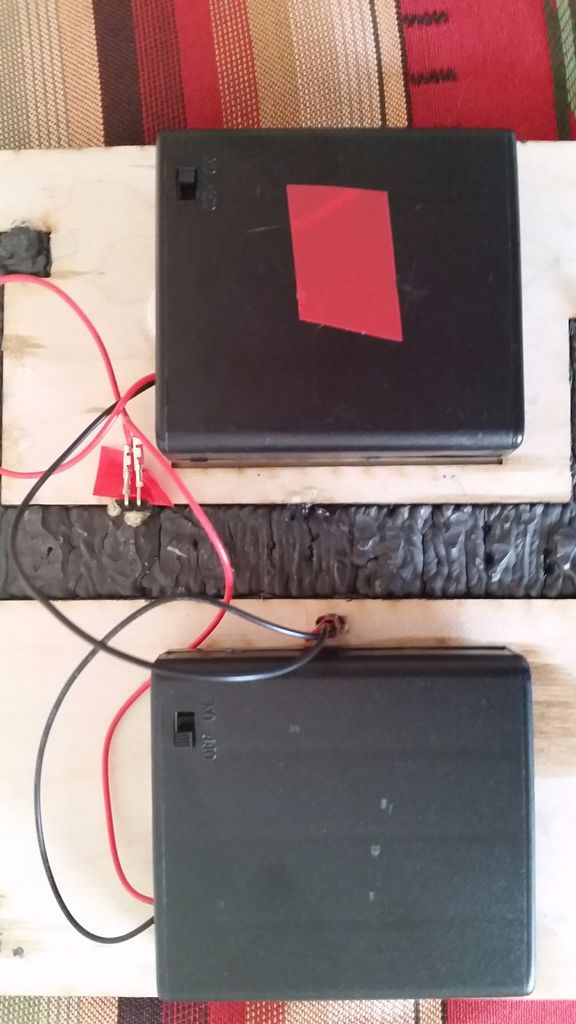
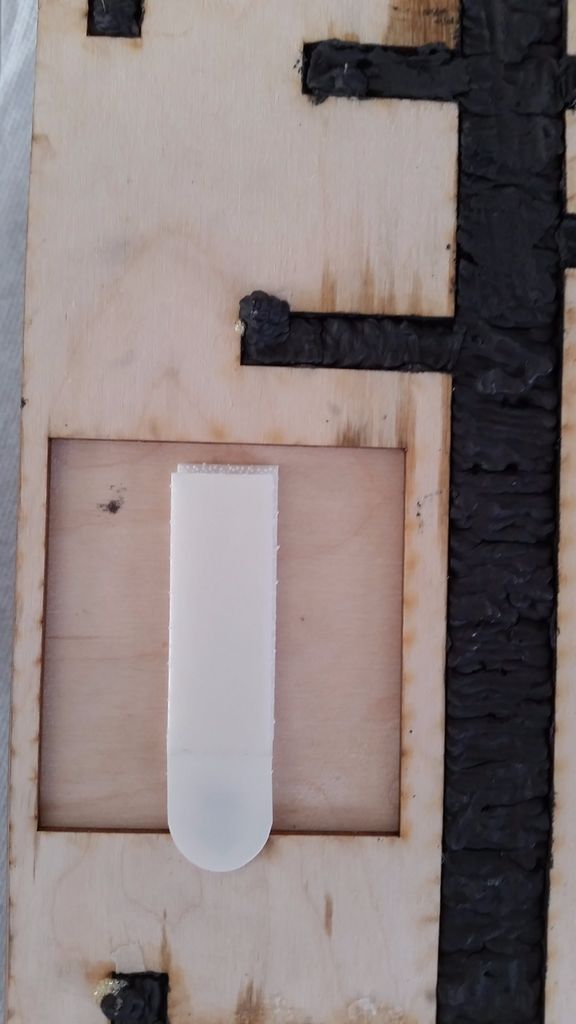
I purchased two battery packs in case I needed to put them in series for the extra voltage (so that there would be a 12 volt drop instead of 6), but I didn't need it, so I just put the battery packs in parallel, which allows the LED's be lit for longer before the batteries need to be replaced or recharged. In order for the battery packs to be removed more easily, I used hanging strips (meant for walls) instead using a more permanent method of attachment, like gluing.
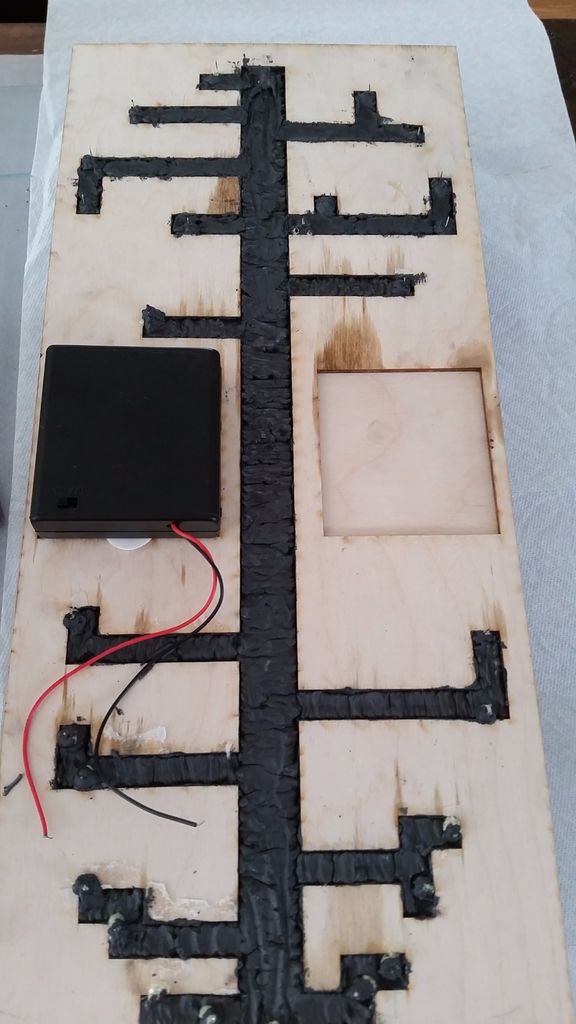
To make the battery connection to the front, I carefully drilled through to the middle center part of the conductive paint in the front (trying to not completely go through the paint int he front), and glued some spare pin headers I had into the hole, making sure that the pins did have contact with the paint in the front. I also glued pin headers for the connection with the paint in the back. I glued the pin headers down and not the wires connected to the battery packs so that I could remove the battery packs if I wanted. The picture I have shows the paint in the back already applied because I did it in a different order than I'm recommending.
Step 12 - Apply Paint to Back
For this step, apply the paint to the back. I would start by only applying a little paint, letting it dry, and then testing the circuit, by checking the total circuit resistance and then seeing if the LED's will light up. If they don't, or are dim, keep applying paint until all the LED's are well lit. If some LED's are brighter then others, apply paint along the path of the dimmer LED (not the path shared by the bright and dim LED's as this won't change the difference in brightness much). This process can be a little slow since you need to wait for the paint to dry before testing each time. LED's might also not be lighting up because they aren't touching the paint on one side.
Step 13 - Finishing Touches
Once everything was working, for the final touches I painted straight black acrylic paint over the conductive paint int he front, so it would appear blacker. Then I finished by adding one more coating of polycrylic finish over the entire front of the piece (be careful to not hit the LED's)
And you're done! This was a pretty complicated and experimental project for me. I did my best to show the process I used and give suggestions from what I learned, so hopefully you can make an even better one than I did. If you have any questions on the project or on parts I might not have gone in-depth enough on, let me know!

